The latest patch for Baldur's Gate 3 launched last week—bringing a whole new way to punish yourself along with it: Honour Mode. This permadeath-style challenge tasks you with completing the game before suffering a single party wipe (though you can convert it to a custom game and finish the story if you beef it).
As someone who has played an unfortunate amount of Dungeons & Dragons—and a less uncomfortable amount of Baldur's Gate 3—I'm here to give you a few tips on surviving Honour Mode, and what is likely to be your most dangerous jaunt through the Sword Coast yet.
To heal, or not to heal

It's common knowledge that healing in Dungeons & Dragons 5e—the tabletop ruleset Baldur's Gate 3 is built atop—generally isn't worth the trouble until someone's unconscious. That's because healing doesn't really outpace damage, so it's not worth it to keep people topped off. You usually just wait until someone hits the dirt and sling a Healing Word their way.
This is mostly true in Baldur's Gate 3, but there's a catch: when you're brought back from being downed, you lose your action (but not your bonus action and movement) for that turn. This is actually a huge disadvantage, one that can lead to a death spiral in short order. But that common knowledge still remains true—unless you're a Life Cleric, it's not worth burning your action to keep people topped up. So what to do?
Firstly, you should be making use of Potions of Healing. They're plentiful and you can chug 'em with a bonus action. Even if your party member survives on just 1 HP, you've successfully clawed back a whole Action to use on their next turn—which is huge.
Secondly, when someone does go down, consider whether reviving them is actually helpful. If they're likely to just get knocked out again, and you don't have a bonus action option for healing spare, then you'll have just sacrificed two whole actions (one from the healer, one from the unlucky party member) to achieve a net zero.
Conversely, if there's just one enemy left, reviving them can be a smart idea. The AI usually goes for the weakest link, and I've won several fights by tricking the last enemy into a revive loop, effectively stunlocking them. They tunnel-vision on the poor sod I have drifting in and out of consciousness, while my two other party members whittle them down with cantrips. If it's stupid and it works, it's not stupid.
Charisma, skill checks, and you

Baldur's Gate 3 doesn't really allow your party members to chat on your behalf during most conversations. It also has quite a few fights you can skip entirely with a little smooth talking. This makes a high-Charisma character supremely helpful for any Honour Mode run, since you can't die to fights you don't start.
Bards, Sorcerers, and Warlocks all use Charisma as their primary spellcasting stat. However, special mentions should be made for the Rogue—who can also gain Expertise in social skills like the Bard—and the Paladin. The Paladin will be less charismatic, sure, but it's a really strong class for when things do come to blows.
Skill checks are also permanent in Honour Mode's one-save-only ruleset. This means you should consider spells and features which will give you a boost to rolls you really don't want to fail. Guidance, Enhance Ability, Bardic Inspiration, and the Lucky Feat can all help you avoid a terrible fate.
Positioning is key
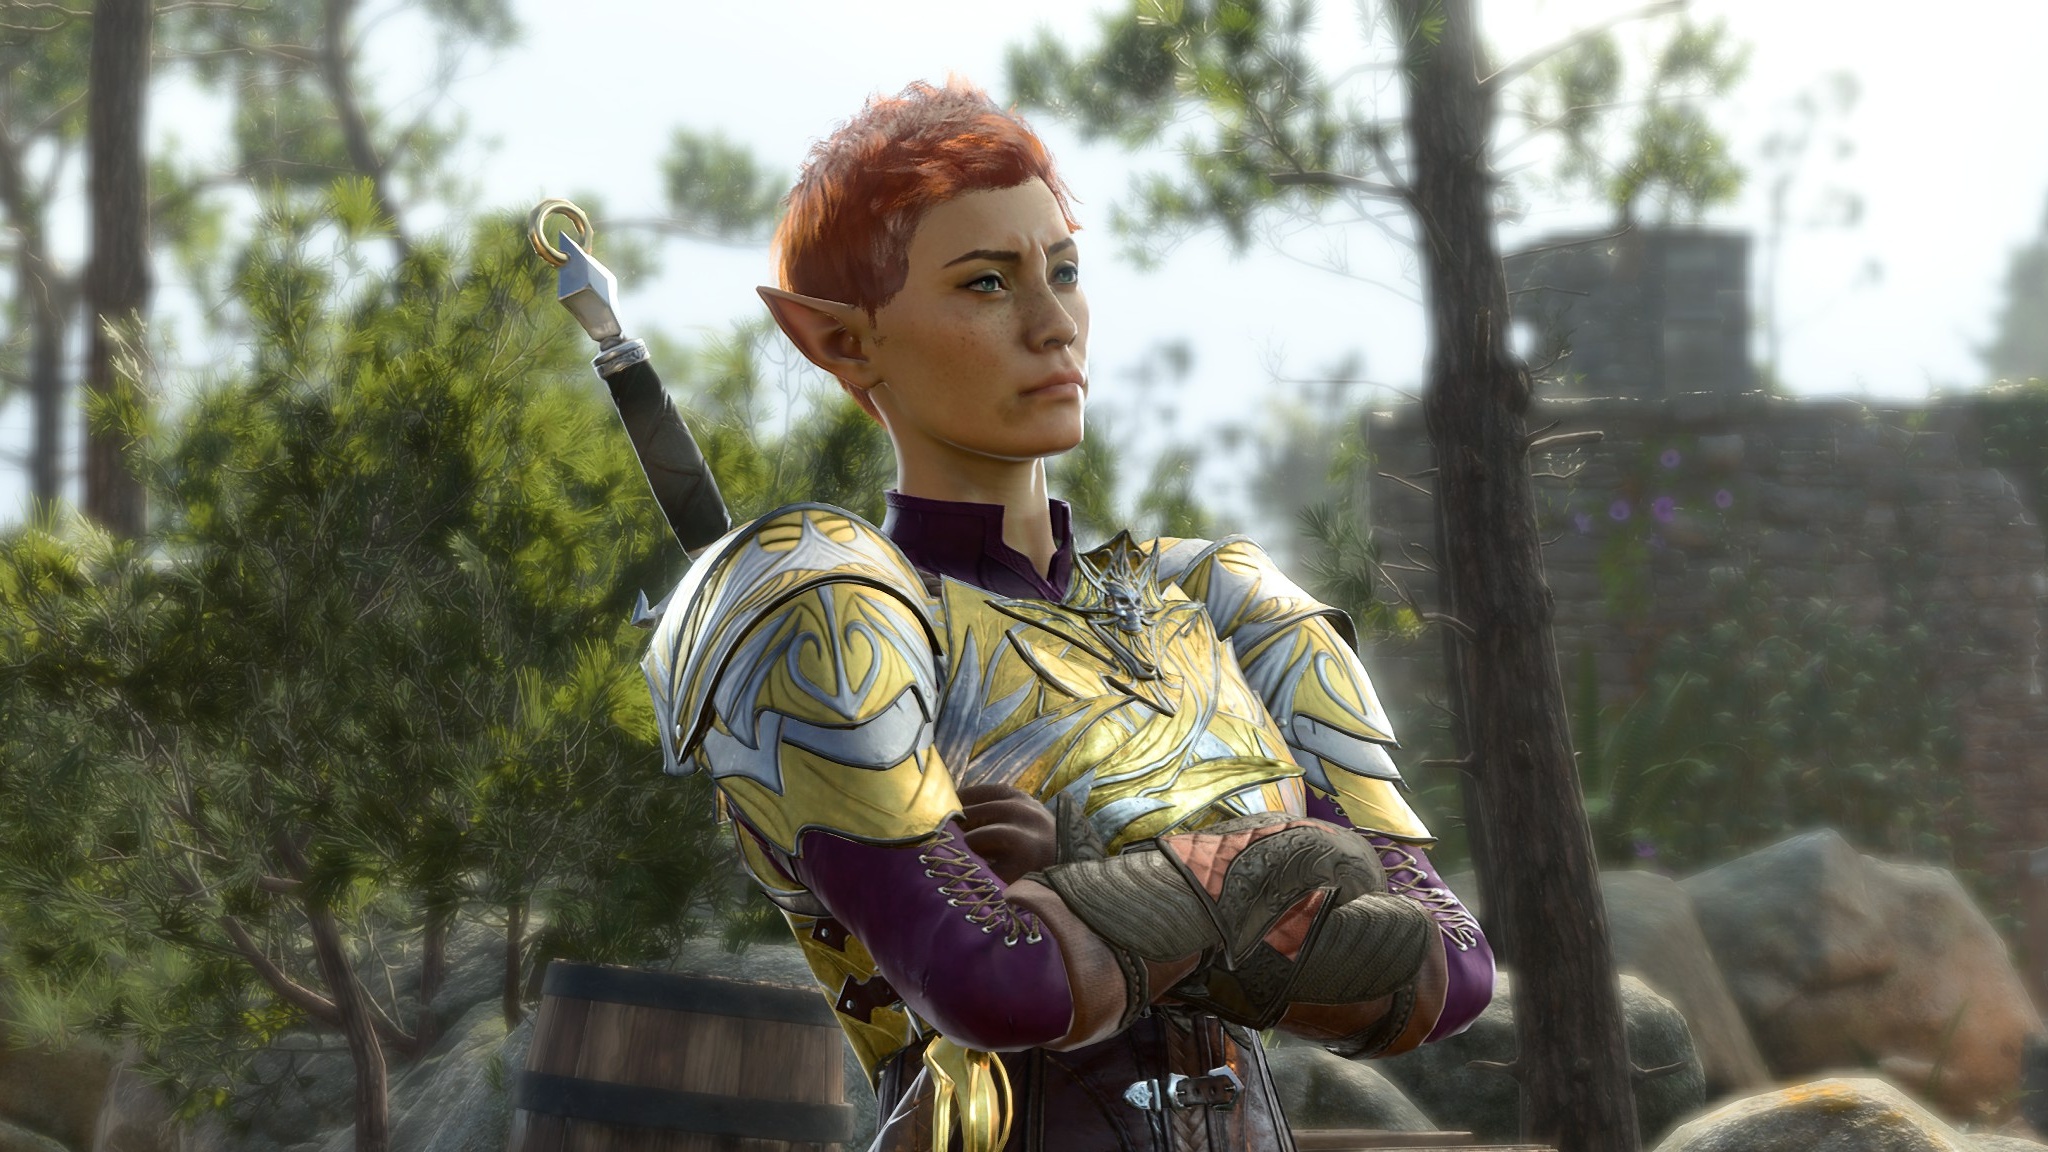
Since the stakes are so much higher, you'll need to make sure combat doesn't devolve into a slugfest. As such, you really need to keep an eye on where your party's positioned during fights. One particular way to exploit this is to find a chokepoint and funnel your enemies into it—a door, a tunnel, anything will do. Always try to avoid fighting big groups in large, open rooms.
In Act 1, there's a fight with some bandits inside the ruins near where the Nautiloid crashes. If you barge into the room where they're all gathered, you'll be severely outnumbered. However, if you keep everyone back and position a character near the lever next to the door, you can shut the rest of the enemy group out and deal with them one by one.
Here's a quick clip of that in action. As you can tell by the desperate, many attempts one of these poor sods is making to try and get in, I've thoroughly cut my enemies off from their reinforcements.
In general, you also want to make sure your group's spread out. Area of effect damage can be a real run-ender, especially when you start working knockbacks into the equation. It should also go without saying: don't stand next to ledges, you will get shoved into them.
Your strongest potions

Consumables, throwables, elixirs, special arrows, and potions are especially powerful in Baldur's Gate 3, and you should be using them to your full advantage. That bandit encounter I mentioned was made far easier by hucking a humble bottle of grease into the choke point. The game gives you a ton of them, too—so make them count.
In particular, you want to keep your eye out for Potions of Speed, Elixirs of Heroism, Bloodlust, Viciousness, and Universal Resistance. Arrows of Roaring Thunder also get a special mention for letting you hurl enemies off ledges from afar.
Send in lone soldiers

If you're in any dangerous sort of area—one that might contain traps, for instance—it's vital to make sure whoever's disarming stuff for you is sent in alone. That's because there are several traps which, if mis-managed, can wipe you out in a matter of seconds. To quickly group and ungroup your party, you can hit Shift + G on the keyboard.
Respec everything

Respecing is both cheap at 100 gold a head, and the easiest way to make sure your party's the strongest it can be. Once Withers is in your camp, consider using him to tweak your group's stats and subclasses.
Shadowheart is the most egregious example among the default crew. While her Wisdom and Constitution scores are helpful, she has 13 Strength and 13 Dexterity for some godforsaken reason, which is outright useless. Generally speaking, you want to focus on either Strength or Dexterity—but not both. Her Trickery Domain subclass, while useful in some fun multiclass builds, otherwise doesn't bring a whole lot to the table, so you may consider changing that up.
You should also go through and see if anyone else in your party needs a tune-up. For example, if you really only care about efficiency, you can dump Charisma on anybody who doesn't use it as a main stat, since they won't do the talking for you.
Stow a backup at camp

This is more of a cheese strat, but it can be especially useful if you expect a fight to have some unexpected Legendary Actions and you want to do some scouting first. Honour Mode only ends if you have a total party wipe—however, if just three of your party members fall, you're golden. As long as there's someone there to bring the bad news back to Withers.
This means that you can simply enter a fight with three party members while keeping a fourth back at camp. This isn't advisable if you actually want to win, since being a person down will put you severely on the backfoot, but it's a useful way to gather tactical information without being surprised.
However, according to some players, certain fights bug out if you do this, so use your discretion. The rule of thumb seems to be big, climactic showdowns, like the boss at the end of Act 2—your mileage may vary.
Choose your battles

This is especially important in Act 1, though it carries over to the rest of the game—Baldur's Gate 3's difficulty is weird. There are several fights which will merrily flatten your group if you stumble into them too early, such as the “Find the Shipment” battle with the gnolls. Having a good working knowledge of what spots to hit first will let you enter later fights with more levels under your belt.
Food, glorious food

If you've played Tactician Mode, you've probably gained an appreciation for this already—but since your saves are permanent here, it's even more important. Long Rests require 80 supplies in both Tactician and Honour Mode. They're more important in the latter, since you'll want to make sure you're as prepared as possible for any big fights that'll give you trouble. Hoover up every single stray piece of food you can see, and keep an eye out when trading with merchants to see if they have supply packs, too.
Some tanky recommendations for your party
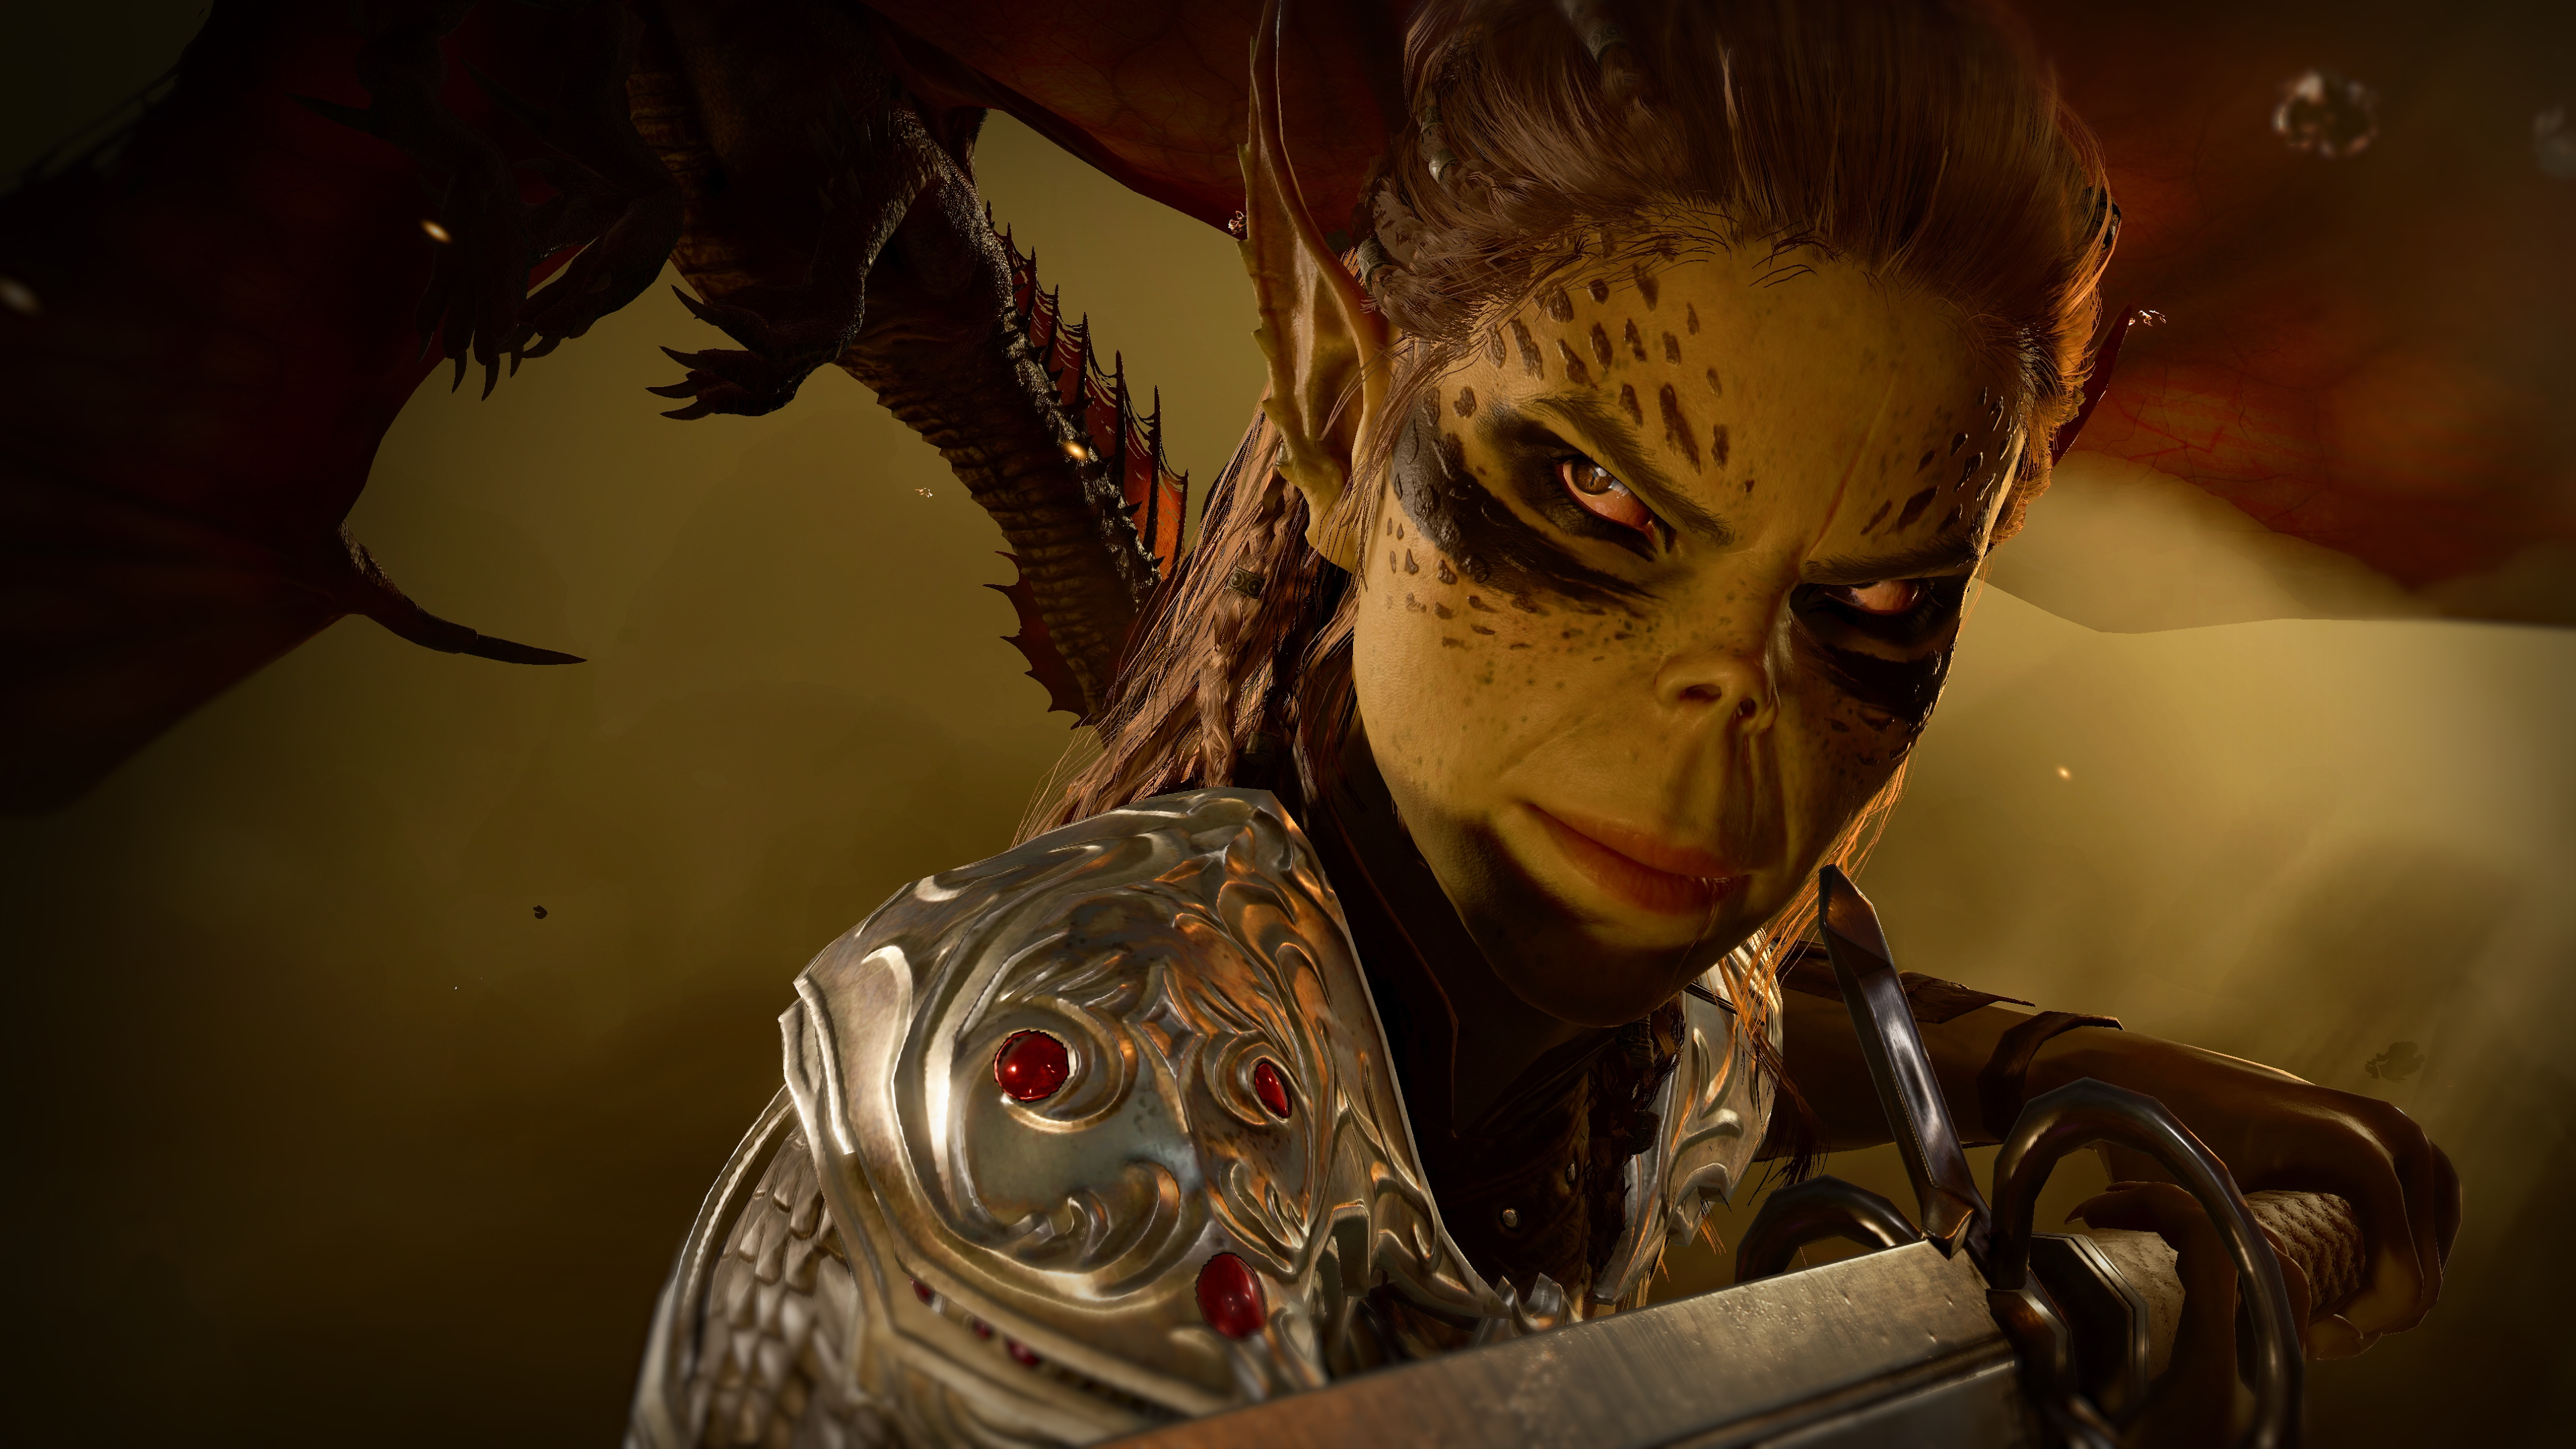
If you're still worried, I've cooked up a fun little party composition that should make your group very, very hard to kill.
First up, the bearbarian. This is a multiclass mix of Moon Druid and Wildheart Barbarian that's really potent, especially since Patch 5 allowed the Tavern Brawler feat to work with wild shapes, giving them a huge amount of extra damage.
Basically, all wild shape forms come with an extra sack of hit points, and the Barbarian's Rage will persist into your Wild Shape. Bear Heart makes you resistant to all damage except for psychic. At level 5, that means you can transform into a bear with about 30 hitpoints (effectively 60 with the rage) as a bonus action. Not too shabby. If you want to keep things simple, though, you can also just go for a straight Barbarian, which'll work just as nicely.

For your next member, I recommend grabbing either an Eldritch Knight Fighter or a Devotion Paladin. The Paladin's a better call if you want to make that your main character, since they have better social stats—but don't sleep on the Eldritch Knight. Being a heavily-armoured fighter with Shield, Blur, and Mirror Image means you won't be hit by almost any attack ever.
For your support character, a Life Cleric is the next best pick when it comes to raw survivability, since it's one of the only subclasses that allows you to outpace enemy damage with its healing bonuses. A well-placed Preserve Life, Mass Healing Word, or Mass Cure Wounds can completely turn the tide of battle.
Lastly, for your obligatory “person what disarms traps,” I'd consider a Thief Rogue. While not strictly 'tanky', having access to two bonus actions means you can fulfil your stealth archer dreams. With a good vantage point in sufficient darkness, you can bonus action hide for advantage, fire an arrow, then bonus action hide again and stay completely off the enemy's radar. You can also ditch Rogue at level 3 and multiclass into Gloomstalker ranger, an extraordinarily busted combination.
This obviously isn't the build for a Honour Mode playthrough. Baldur's Gate 3 has so many combinations that it'd take me forever to rattle them off—and I haven't even got into builds that take advantage of the game's absurd range of magical items. But it's a good place to start thinking about your party comp.
Source: https://www.pcgamer.com/baldurs-gate-3-honour-mode-tips


